Tips For Pumpkin Carving + Clean Up
Fall is our favorite time of year. Why? It’s filled with activities that are special for the season that will be gone quickly as we slide right into the blanket of winter. Our personal favorite: Pumpkin Carving. Of course carving pumpkins come along with orange stains, pumpkin guts and sharp knives. Have no fear, we’ve got simple tricks to help you and your little ones have the most fun while making the smallest mess. Like we say, Play Hard. Clean Easy.
Tips for Pumpkin Carving with Kids
1. Pick Your Pumpkin
Pumpkins grow on vines and rest on the ground. A pumpkin that is missing a stem is a sign that it has been handled a lot. Picking a pumpkin with a stem (the greener, the better) will ensure your pumpkin is fresh. Don’t shy away from the odd shaped pumpkins either, get inspired by their unique shapes!
2. Plan your Design
Coming up with how you want your pumpkin to look is the trickiest part of pumpkin carving. If you’re feeling stuck try browsing online for inspiration or a stencil you can use. Take it from us, though, it’s best to have a plan.
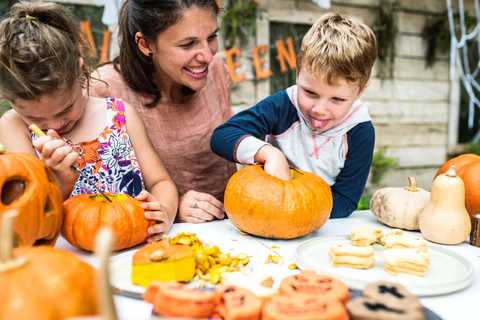
3. Get the Kids Involved
If your kids are too young to safely hold a knife, encourage them to draw their pumpkin face on paper. Then they can watch as you have their drawing turn to life!
4. Line Workspace with Newspaper
Line your workspace with Newspaper whether that is on a table or on the ground, it will make clean-up a snap. Even better, have a bowl handy to collect the seeds and a bucket or trash bag ready to take in any extra messes.
5. Plan and Carve
Draw out your design or transfer your stencil onto the pumpkin so you know where to carve. Once you start cutting, work fast! It’s best to finish your pumpkin carving in one steady go to give the pumpkin it’s best chance at survival.
6. Preserve and Enjoy
Since we are working with a perishable food item, here, the lifespan of a pumpkin can be unpredictable. Since the pumpkin will be losing a lot of moisture, keep a water bottle or mister handy. If you really want to keep that masterpiece alive for longer, your best bet will be wrapping it tight in plastic wrap and placing it in a cool spot in the fridge or by a window.
For best practices, carve the pumpkin within 24 hours of showing it off. Pumpkins look their best when they are lit up at night! Try responsibly using a candle, or even LED tea lights that don’t require as much babysitting!

Tips for a Faster Cleaning Up
1. Toss the Compost + Trash
Lucky for you, you listened and placed newspaper down along your entire work surface. Simply fold the newspaper up containing all of the pumpkin guts and loose pumpkin bits and throw it in the trash. Remember that any extra pumpkin pieces can be thrown into the compost.
2. Turn Your Seeds into a Snack
Now that the kids have gotten a kick out of carving a pumpkin, the adults can have their snack! We love utilizing every aspect of the pumpkin, especially when it comes to roasting those seeds. Check out our favorite recipe: Roasted Pumpkin Seeds by Schultz’s Gourmet
3. Clean Easy with Boulder Clean
It depends on what surface you were working on, but we recommend giving a quick wipe-down with our All Purpose Spray or our Granite and Stainless Cleaner to make sure everything is spick and span!